> ## Documentation Index
> Fetch the complete documentation index at: https://docs.elemente.ai/llms.txt
> Use this file to discover all available pages before exploring further.
# Phone Number
> Step-by-step guide on how to purchase and configure phone numbers in the system.
## Phone Number Purchasing and Configuration Guide
Follow the steps below to purchase and configure phone numbers for your workspace.
### **Step 1: Access the Phone Numbers Section**
1. Log in to your dashboard.
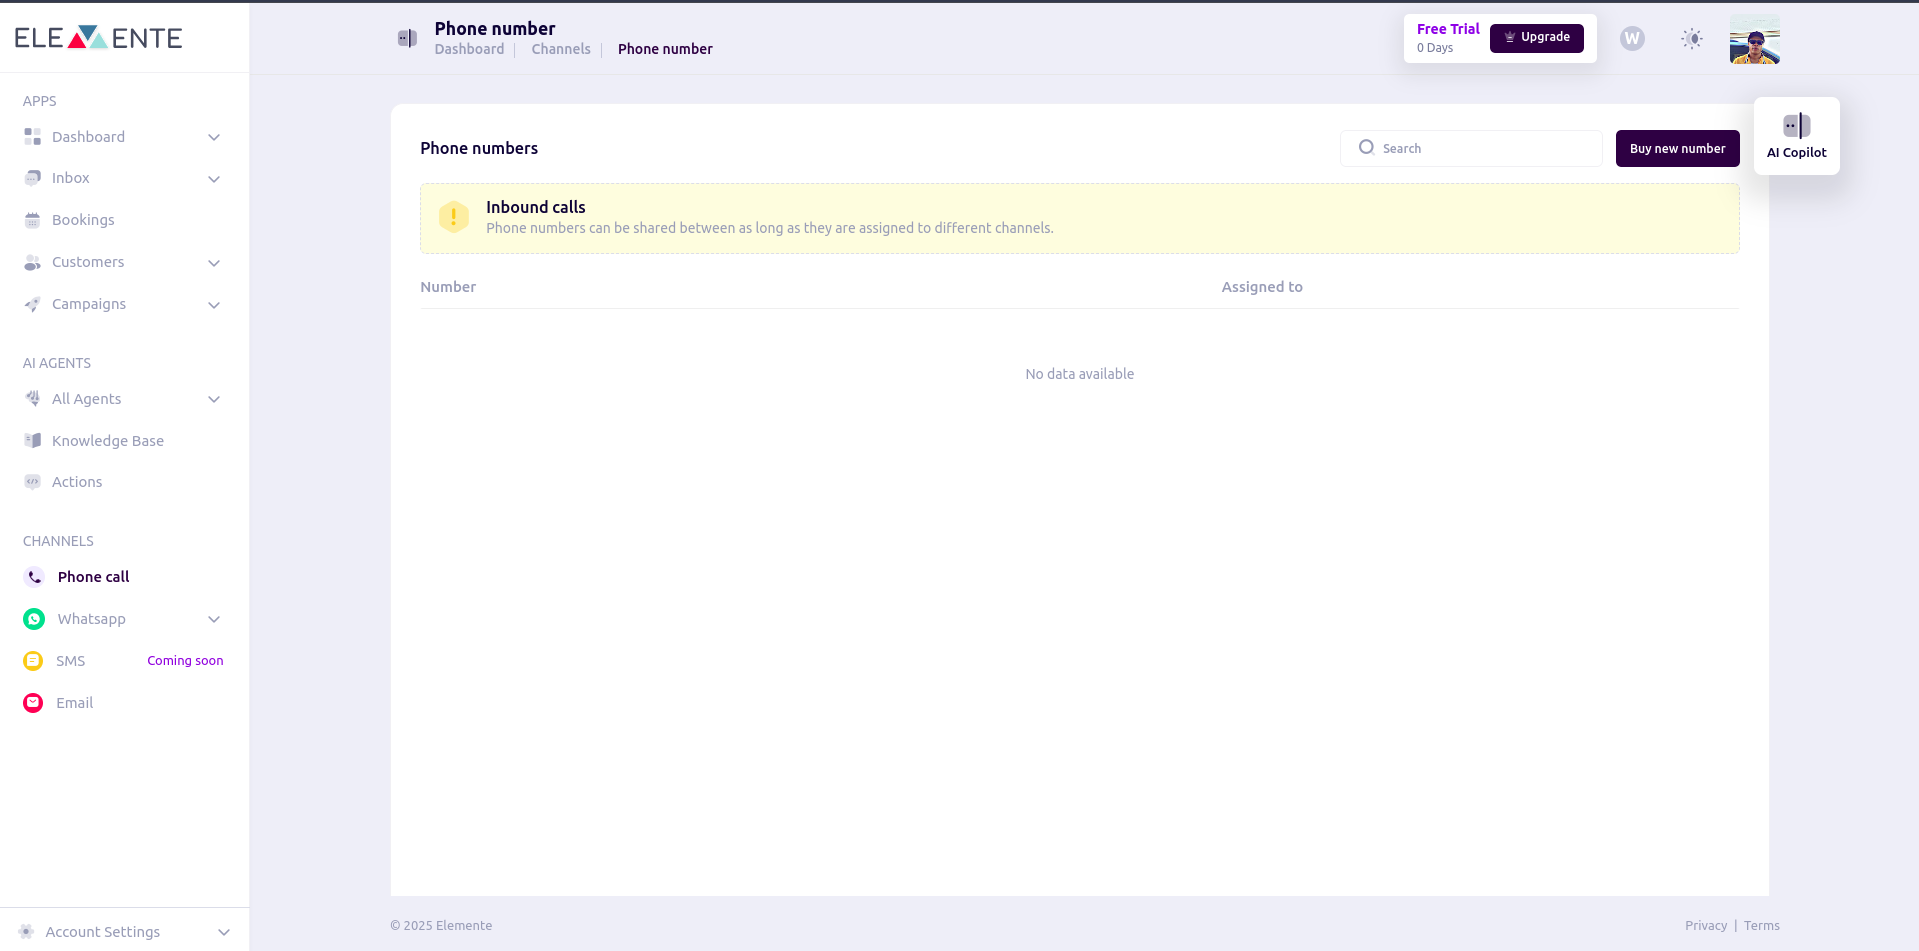
2. Navigate to the **phone call** section from the left sidebar.
3. Click on the **Buy Number** button to start the purchasing process.
 ### **Step 2: Purchase a Phone Number**
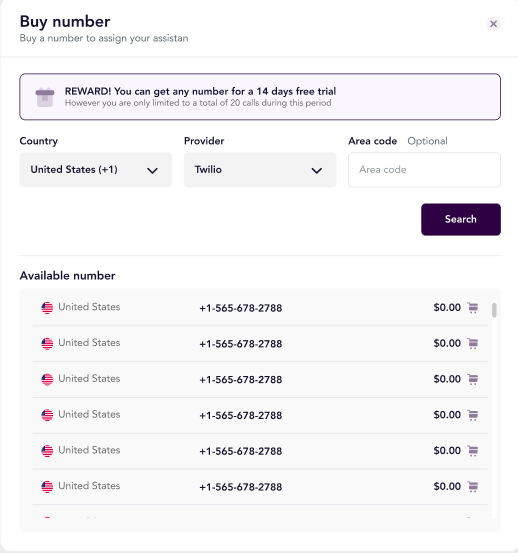
1. After clicking **Buy Number**, a pop-up modal will appear with the following fields:
* **Country**: Select the desired country for the phone number.
* **Provider**: Choose between **Twilio** or **Vonage**.
* **Area Code**: (Optional) Enter a specific area code for the phone number.
2. Click **Search** to list the available phone numbers based on your criteria.
3. Browse the list of numbers and select a suitable option.
### **Step 2: Purchase a Phone Number**
1. After clicking **Buy Number**, a pop-up modal will appear with the following fields:
* **Country**: Select the desired country for the phone number.
* **Provider**: Choose between **Twilio** or **Vonage**.
* **Area Code**: (Optional) Enter a specific area code for the phone number.
2. Click **Search** to list the available phone numbers based on your criteria.
3. Browse the list of numbers and select a suitable option.
 4. A confirmation modal will appear. Review the details and confirm your selection.
5. Once purchased, the phone number will appear in the **Phone Numbers** table.
### **Step 3: Phone Numbers Table**
1. On the phone number table list, you will see all purchased phone numbers.
2. The table includes the following columns:
4. A confirmation modal will appear. Review the details and confirm your selection.
5. Once purchased, the phone number will appear in the **Phone Numbers** table.
### **Step 3: Phone Numbers Table**
1. On the phone number table list, you will see all purchased phone numbers.
2. The table includes the following columns:
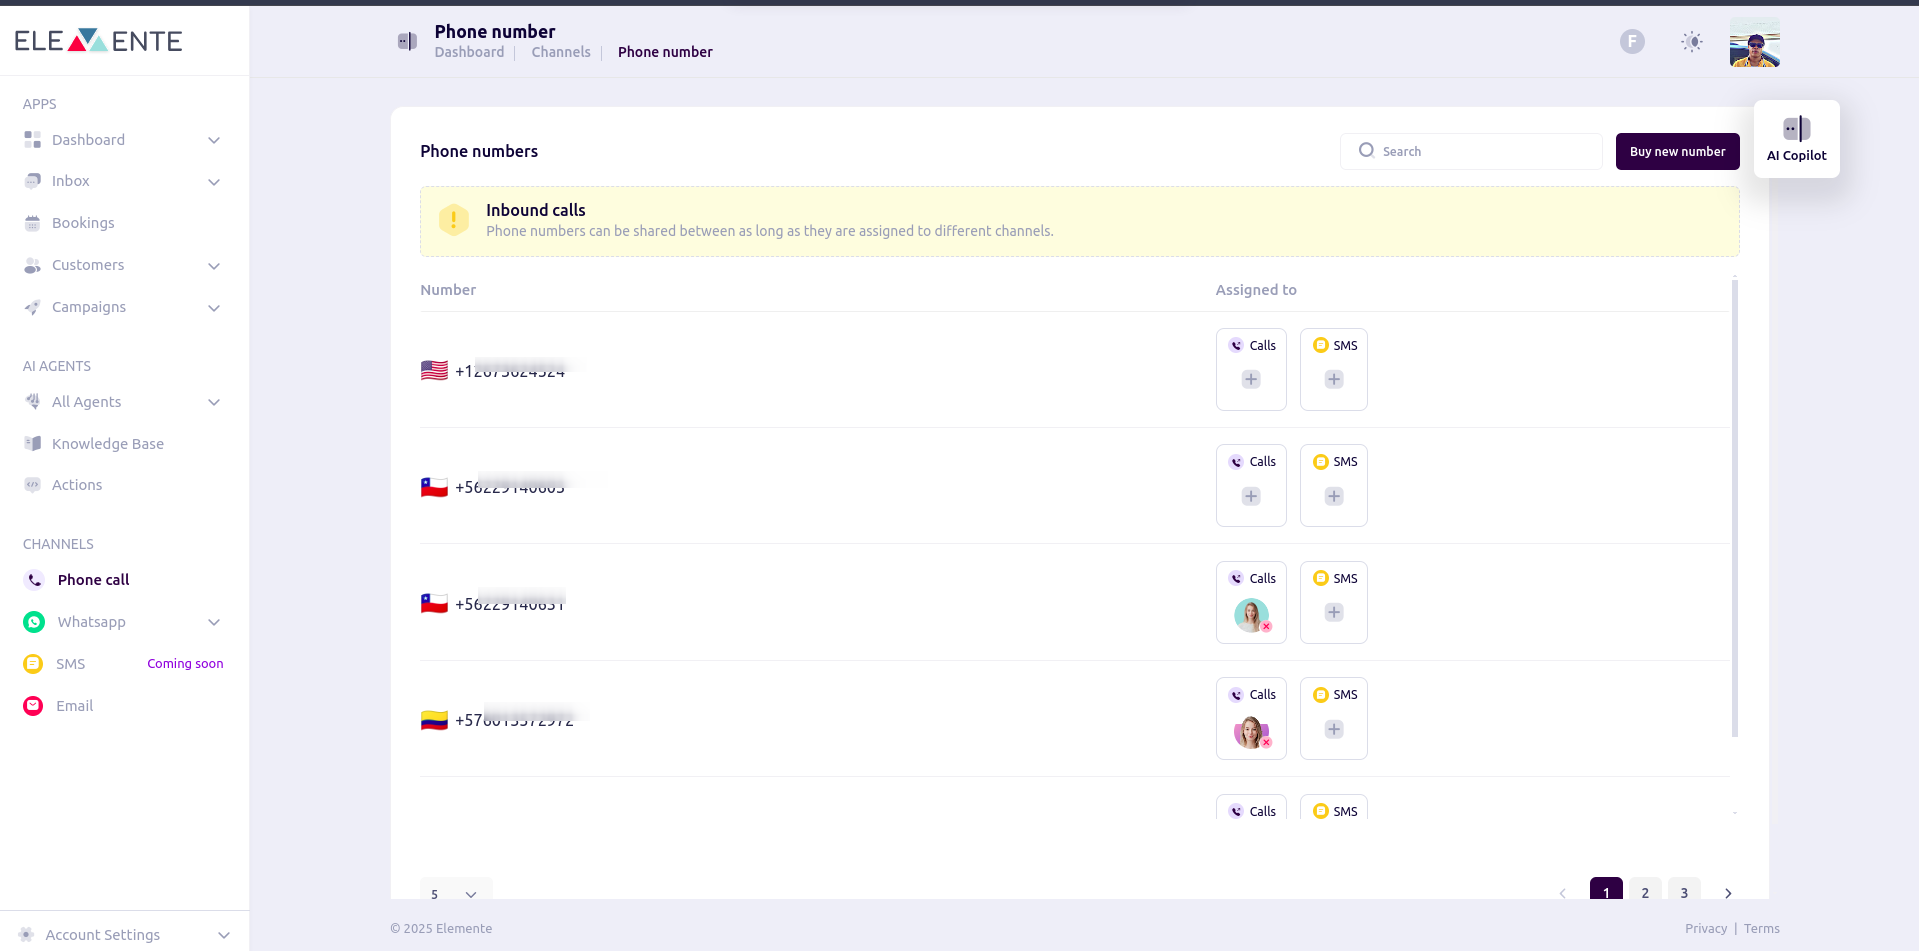 * **Number**: Displays the purchased phone numbers.
* **Assigned To**: Indicates whether the number is assigned to an agent. If unassigned, it will show **Unassigned**.
* **Active Channels**: You can assign a phone number to an agent on a specific channel, either phone call or SMS.
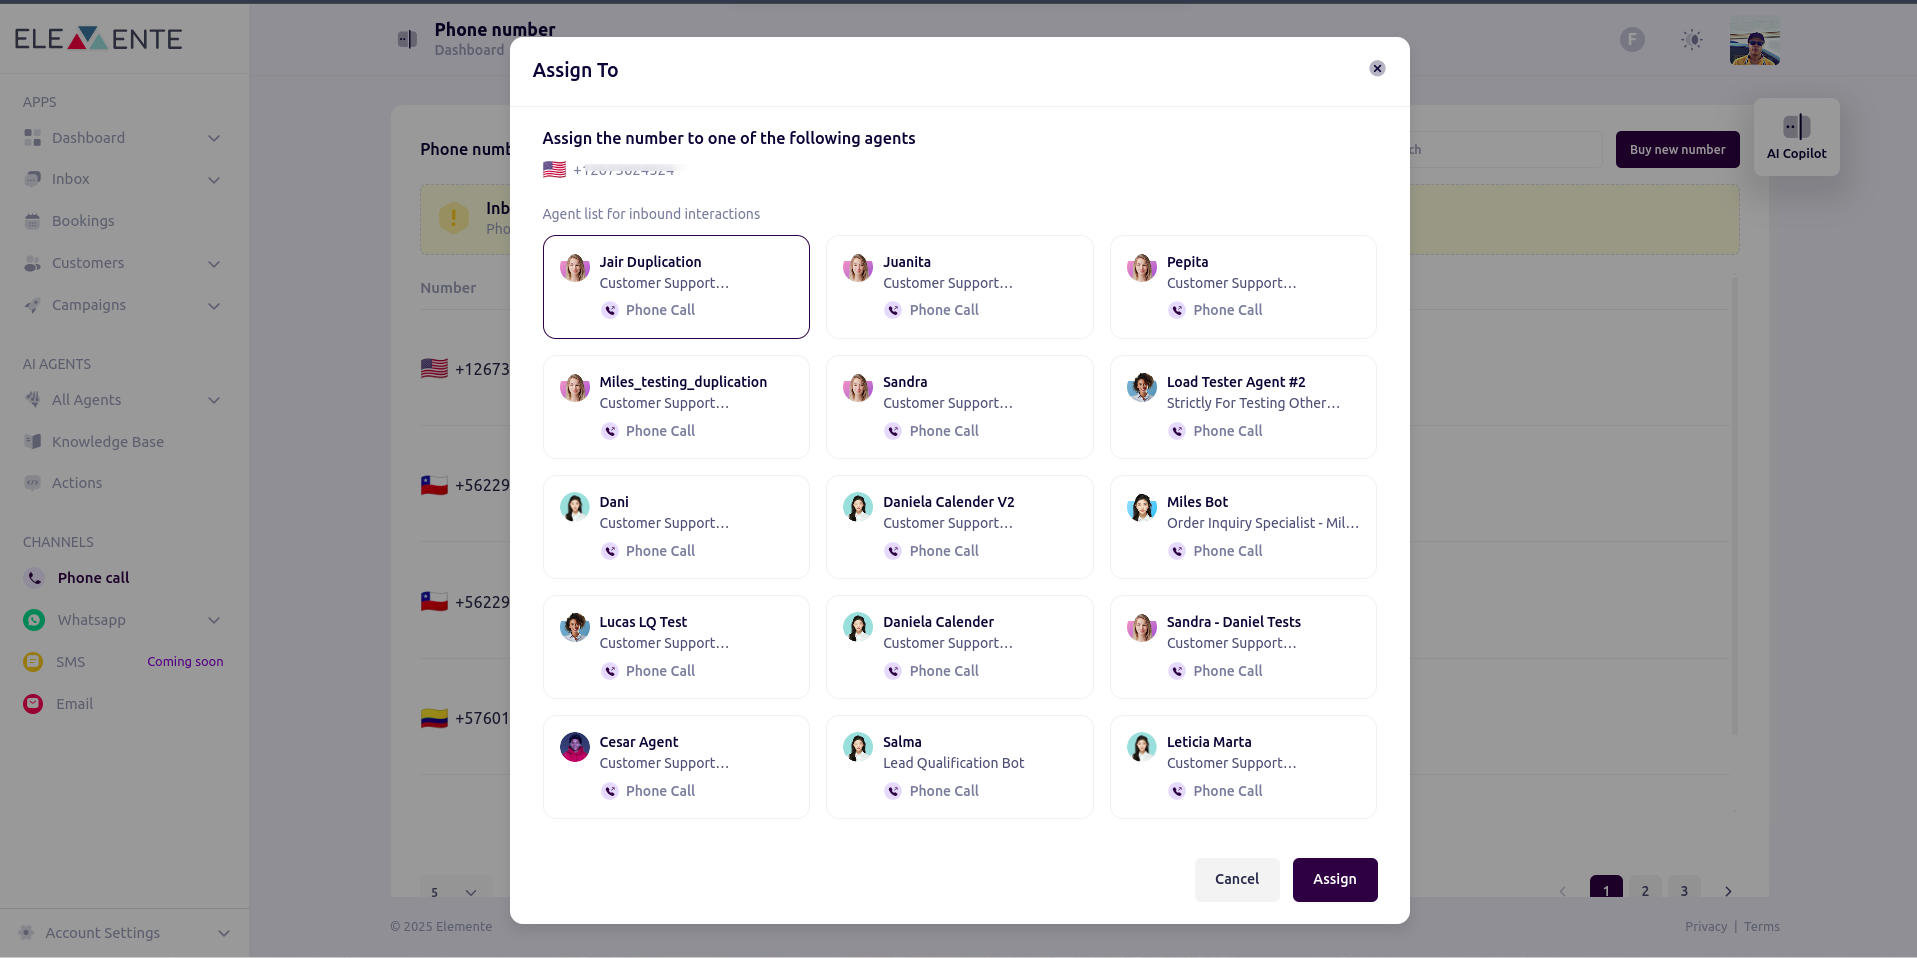
* **Configure Button**: On click on the plus button in the **Assigned To** section, a modal with all agents will pop up to assign a number to.
* **Number**: Displays the purchased phone numbers.
* **Assigned To**: Indicates whether the number is assigned to an agent. If unassigned, it will show **Unassigned**.
* **Active Channels**: You can assign a phone number to an agent on a specific channel, either phone call or SMS.
* **Configure Button**: On click on the plus button in the **Assigned To** section, a modal with all agents will pop up to assign a number to.
 ## Buy and Assign Number on Agent Settings
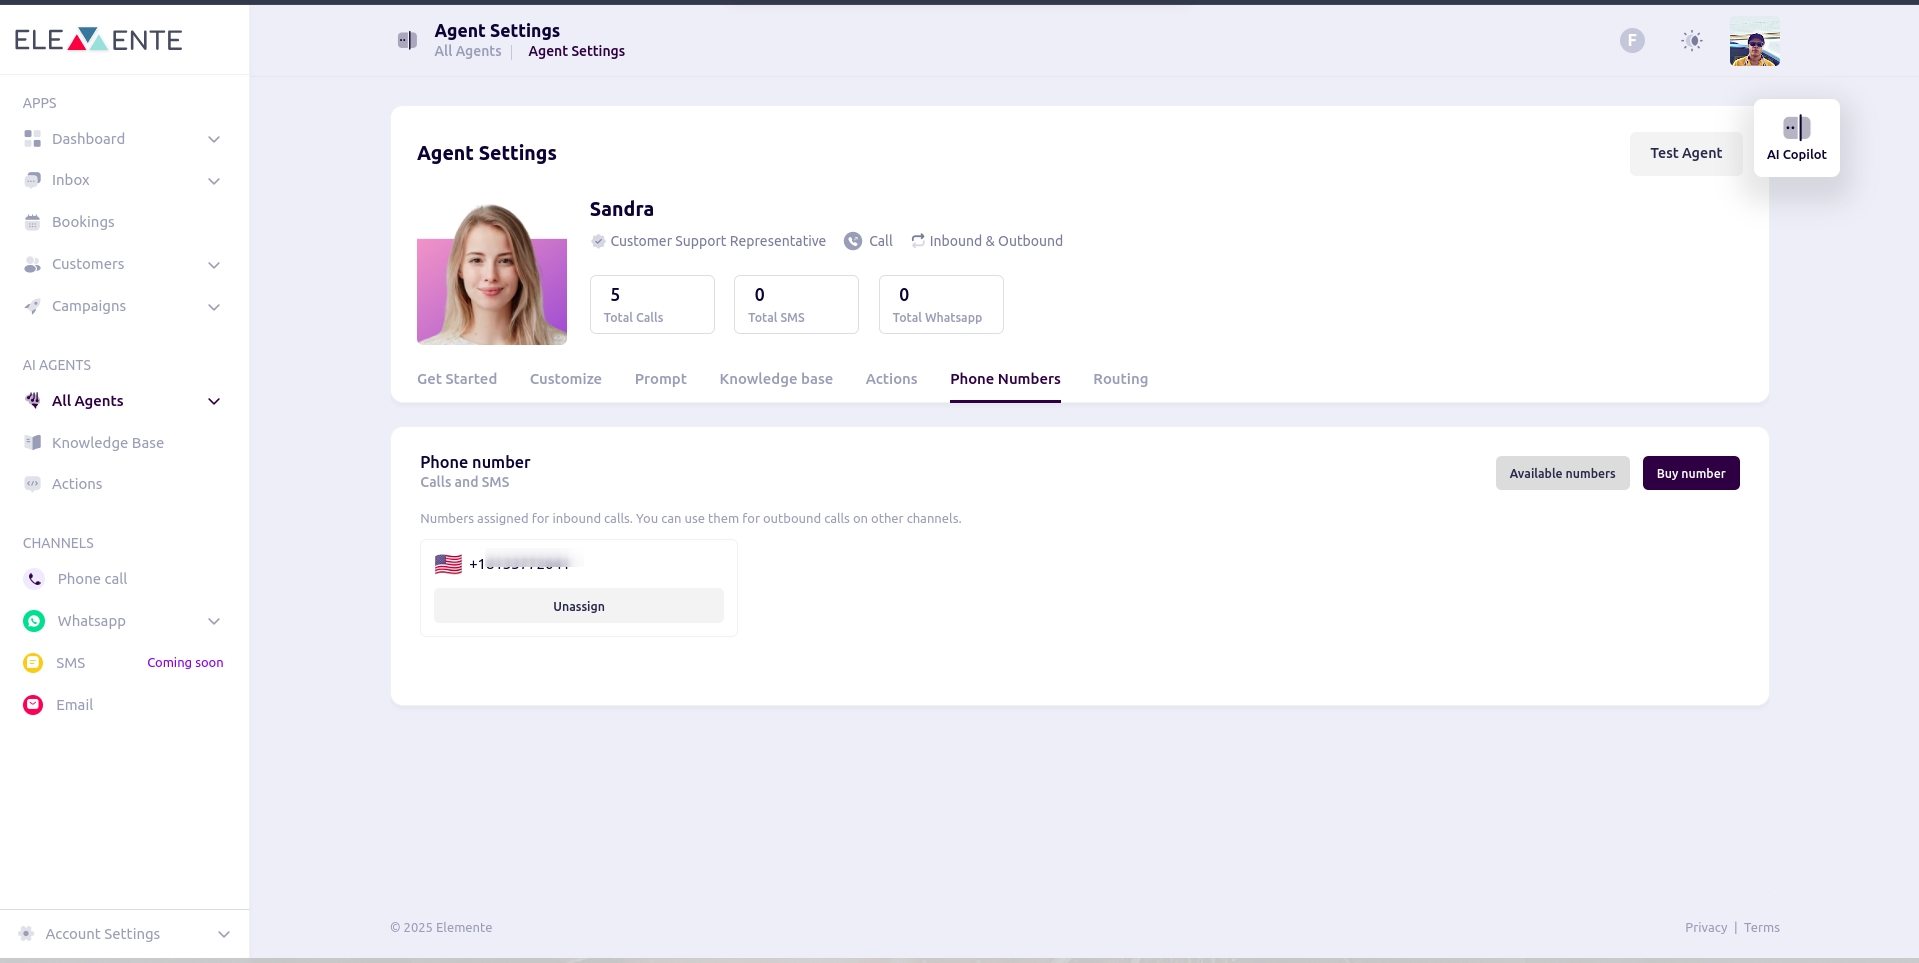
* On agent settings, click on the **Phone Numbers** tab.
* There are two buttons: **Available Numbers** and **Buy Number**.
* **Available Numbers** shows the numbers already purchased in the system.
* If no numbers are available in the system, you can buy a new number.
## Buy and Assign Number on Agent Settings
* On agent settings, click on the **Phone Numbers** tab.
* There are two buttons: **Available Numbers** and **Buy Number**.
* **Available Numbers** shows the numbers already purchased in the system.
* If no numbers are available in the system, you can buy a new number.