Overview
WhatsApp integration enables system users to connect their business phone numbers to WhatsApp via Meta, allowing AI agents to send and receive messages seamlessly. By configuring a WhatsApp sender, businesses can automate customer interactions, manage templates for predefined messages, and assign numbers to AI agents for efficient communication.Setting Up WhatsApp
1. Navigate to WhatsApp Settings
- On the General Sidebar, click WhatsApp.
- In the dropdown, you’ll find Senders and Templates.
2. Understanding WhatsApp Configuration
Senders
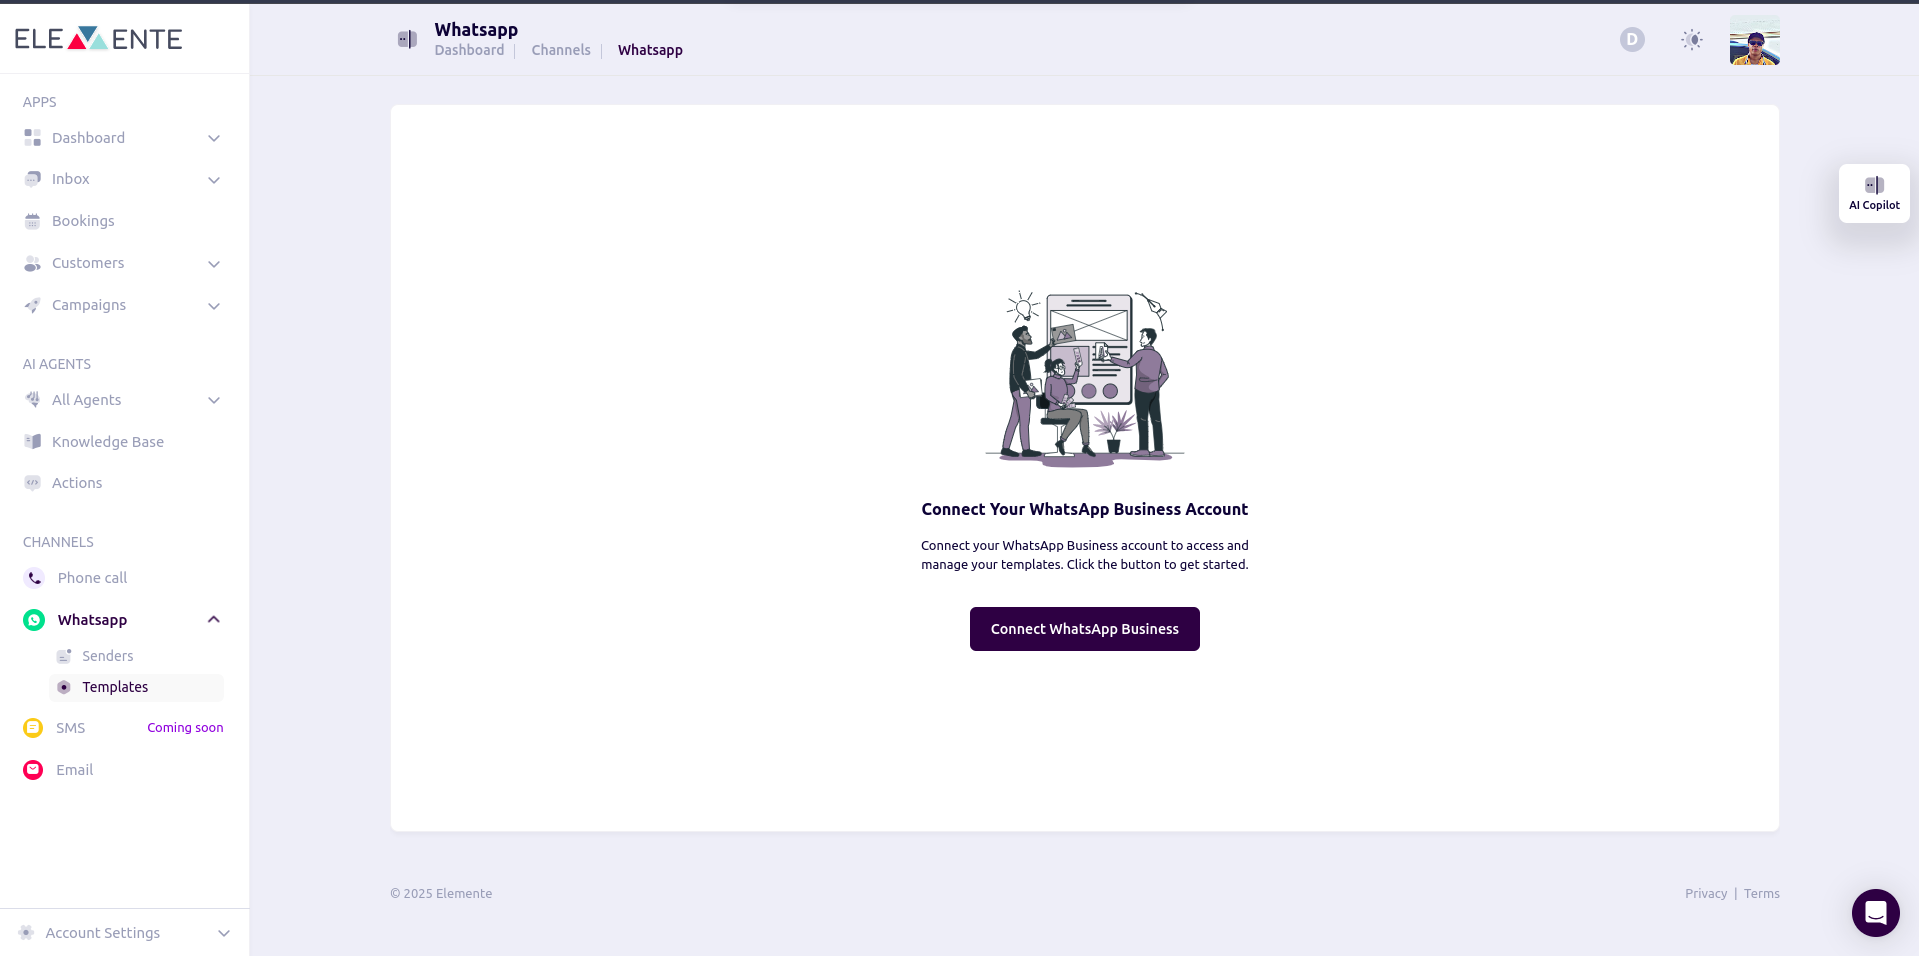
To configure your business number for WhatsApp, you need to:- Connect your business number to Meta.
- Pass the required verification steps.
- Once configured, the agent can send and receive WhatsApp messages.
Sender Configuration
Steps to Connect a WhatsApp Business Number:
- Navigate to the Sender page.
- Click Connect New Account.
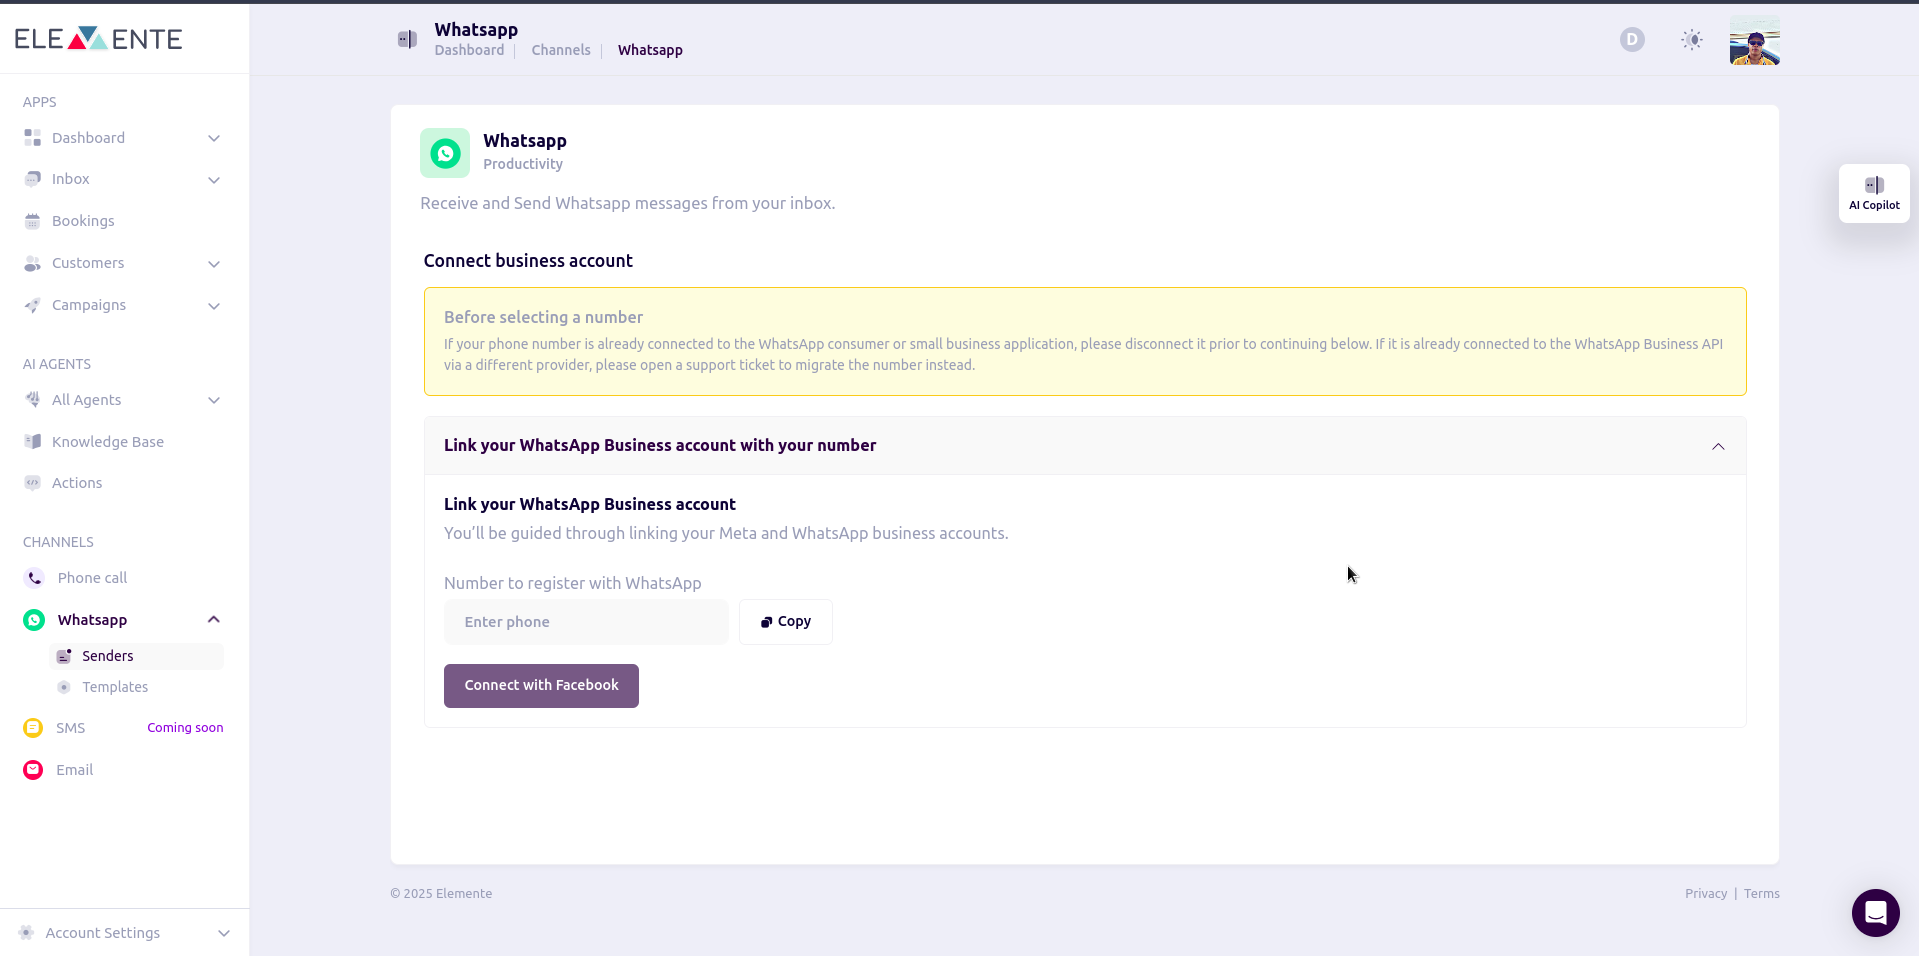
- Enter your business phone number in the Phone Number input field.
- Click Connect to Facebook for Meta verification.
- Follow the prompts to authenticate your Facebook account.
- Enter the token provided by Meta.
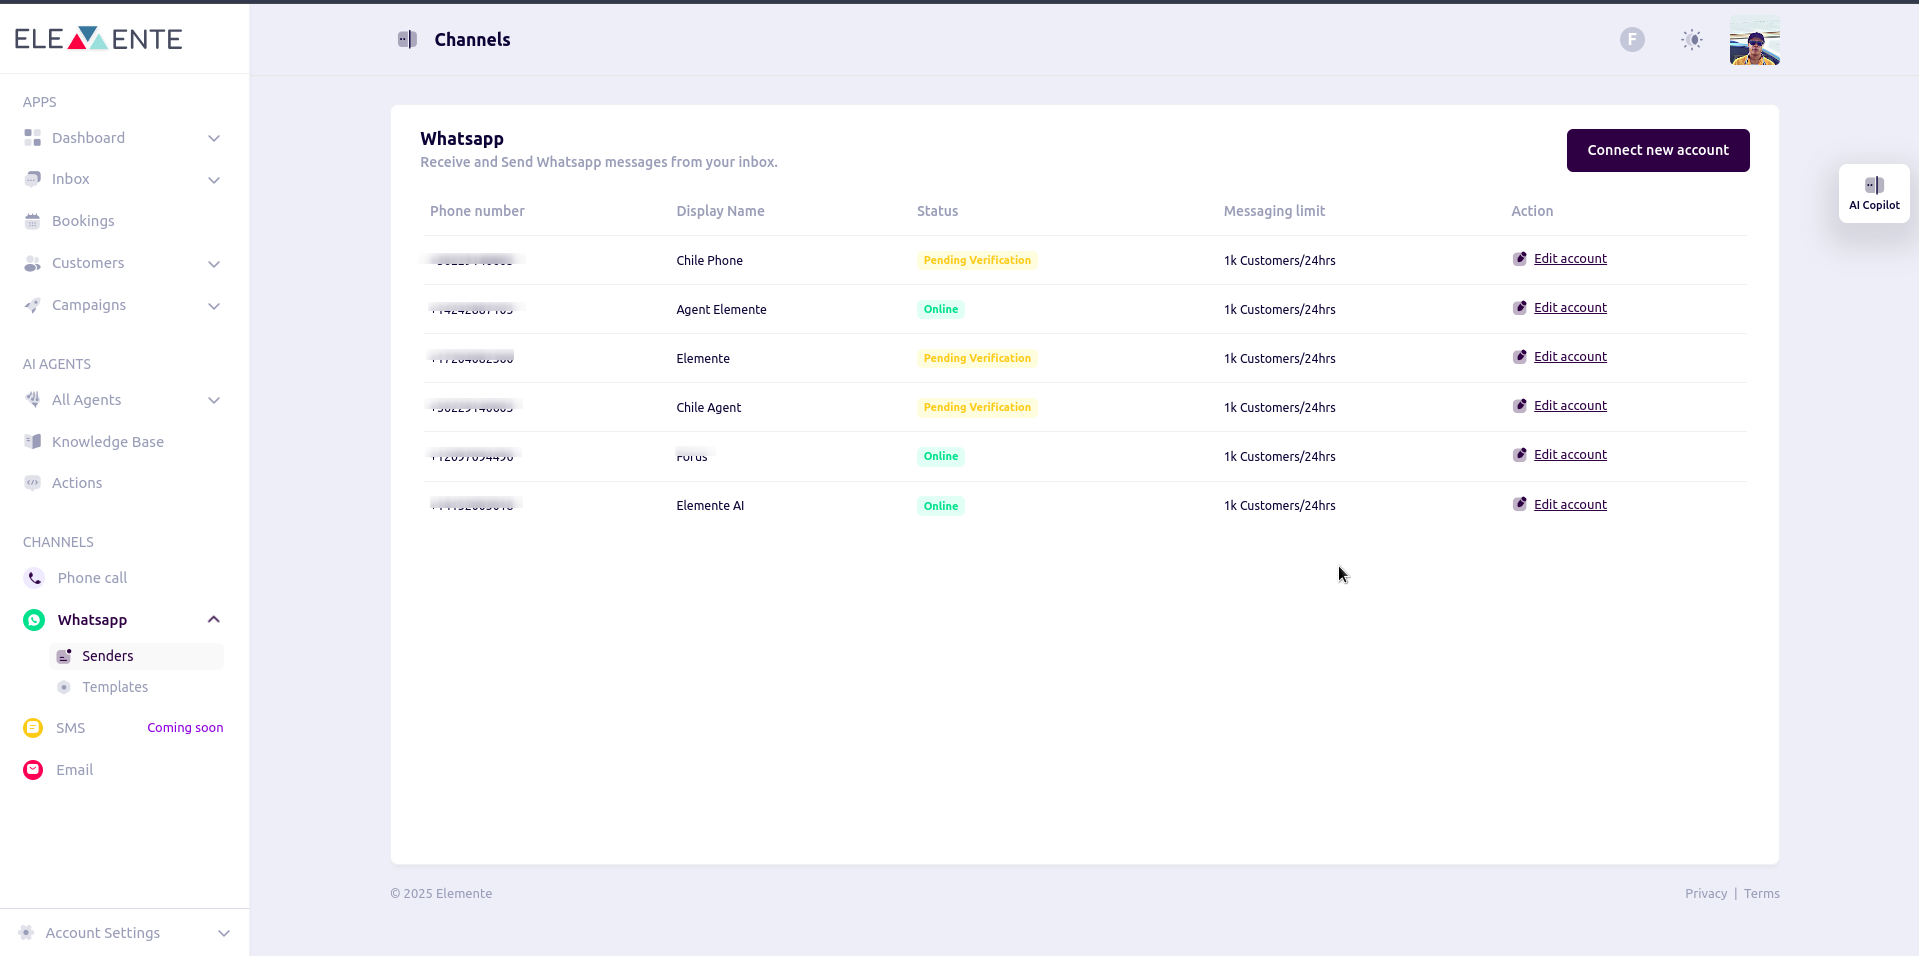
Viewing Connected Numbers
Your connected numbers will appear in a table with the following details:- Phone Number: The registered number.
- Display Name: Name associated with the number.
- Status: Indicates if the number is active or pending verification.
- Messaging Limit: Displays the message sending limit.
- Actions: Allows you to edit the account details.
Actions:
Clicking the Action button allows you to update business details:- Business Display Name
- Phone Number
- Business Website (e.g.,
https://www.yourcompany.com) - Business Email (e.g.,
support@yourcompany.com) - Business Address
- Description
Creating a WhatsApp Template
Before creating a WhatsApp template, your phone number must first be approved by Meta.Creating a Template
Creating a template has two methods:- Using a Preloaded Template
- Creating from Scratch
1. Creating from a Preloaded Template
Select from preloaded templates and modify them to suit your needs.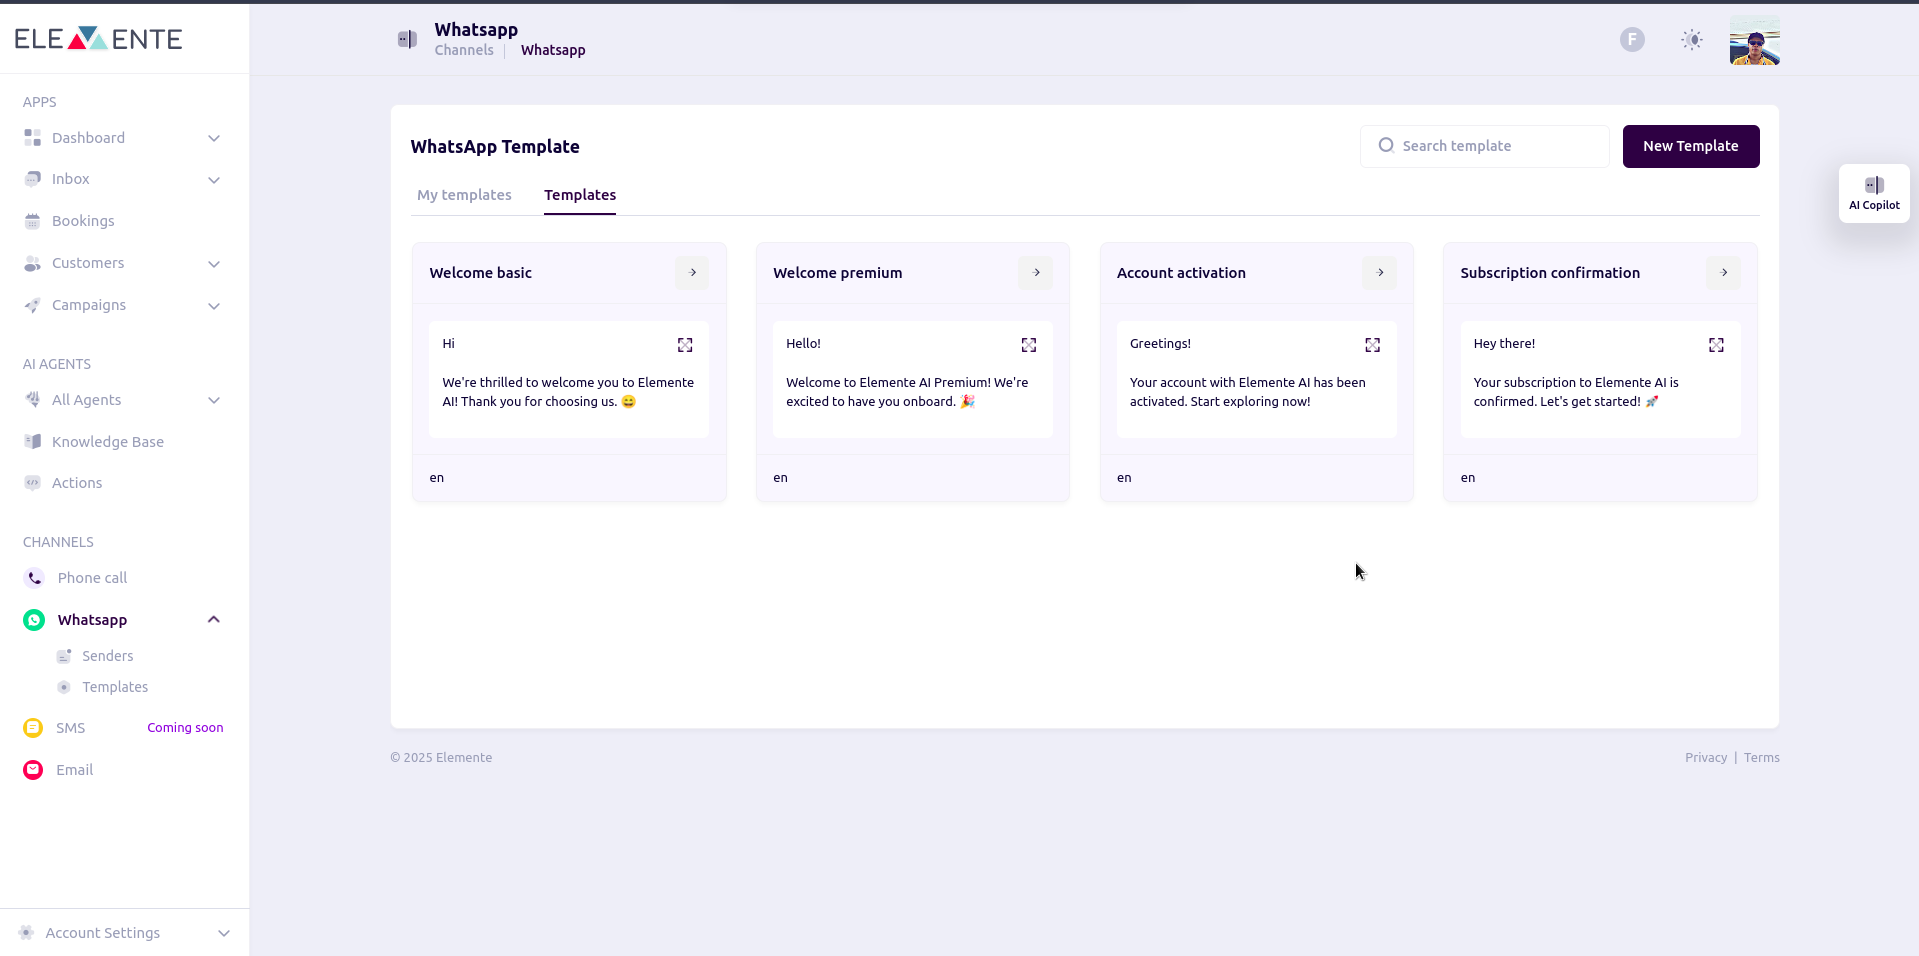
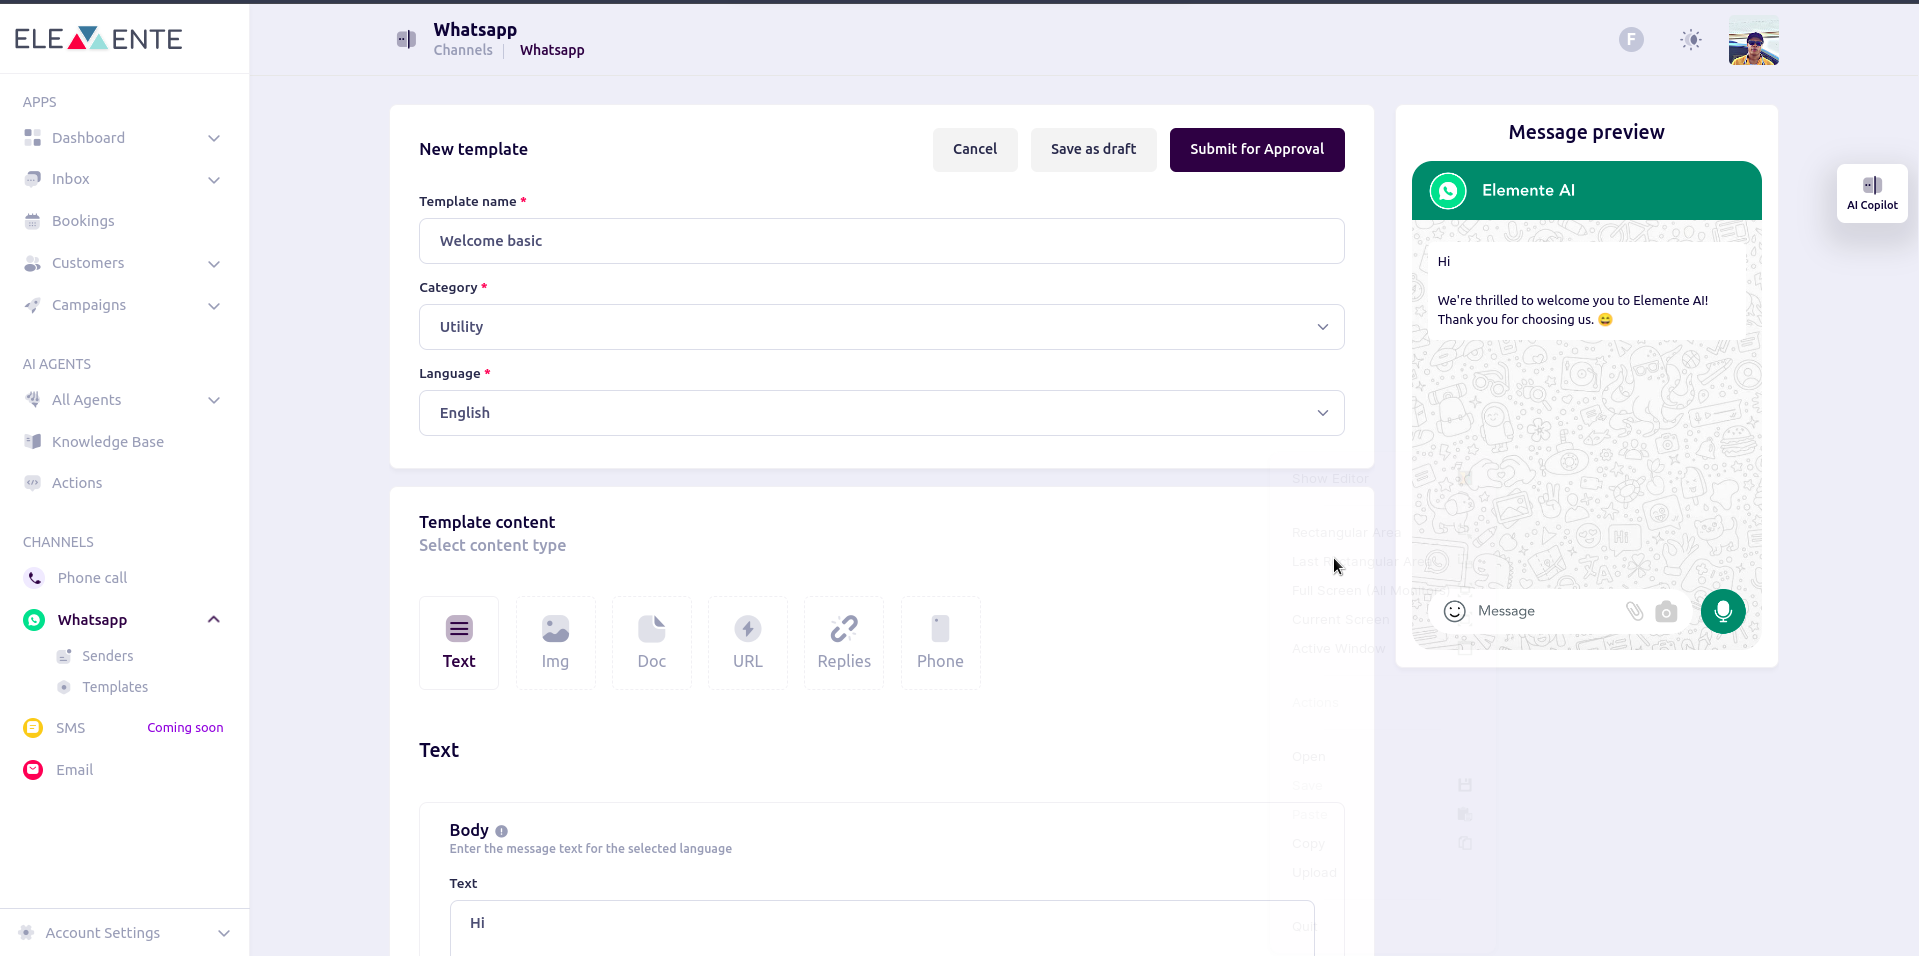
2. Creating a New Template
After selecting a preloaded template or starting from scratch, you need to enter the required template details:Inputting Template Details
- Template Name – A unique name for your template.
- Category – Choose the category (e.g., Utility, Marketing, Transactional).
- Language – Select the language for the template.
-
Template Content – Choose the content type:
- Text
- Image
- Document
- URL
- Quick Replies
- Phone
- Body – Enter the main message text for the selected language.
- Variables – Define placeholders that allow dynamic content insertion when sending messages. Variables help personalize messages by dynamically replacing specific sections with real-time data, such as customer names, order details, or appointment times. For more details on setting up variables, check the Variables Guide.
- Message Preview – A real-time preview of how the message will appear on WhatsApp.
Submitting Templates
- Choose Submit for Approval or Save as Draft.
- Approved templates are typically ready within 1 minute.
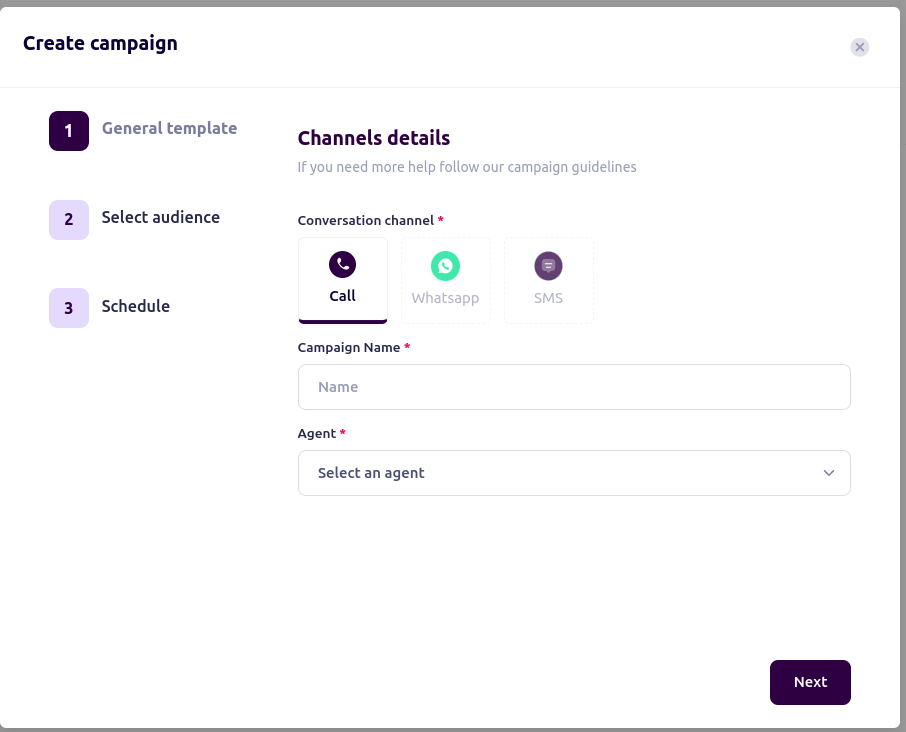
Assigning WhatsApp Numbers to Agents
Follow these steps to assign a number to an agent.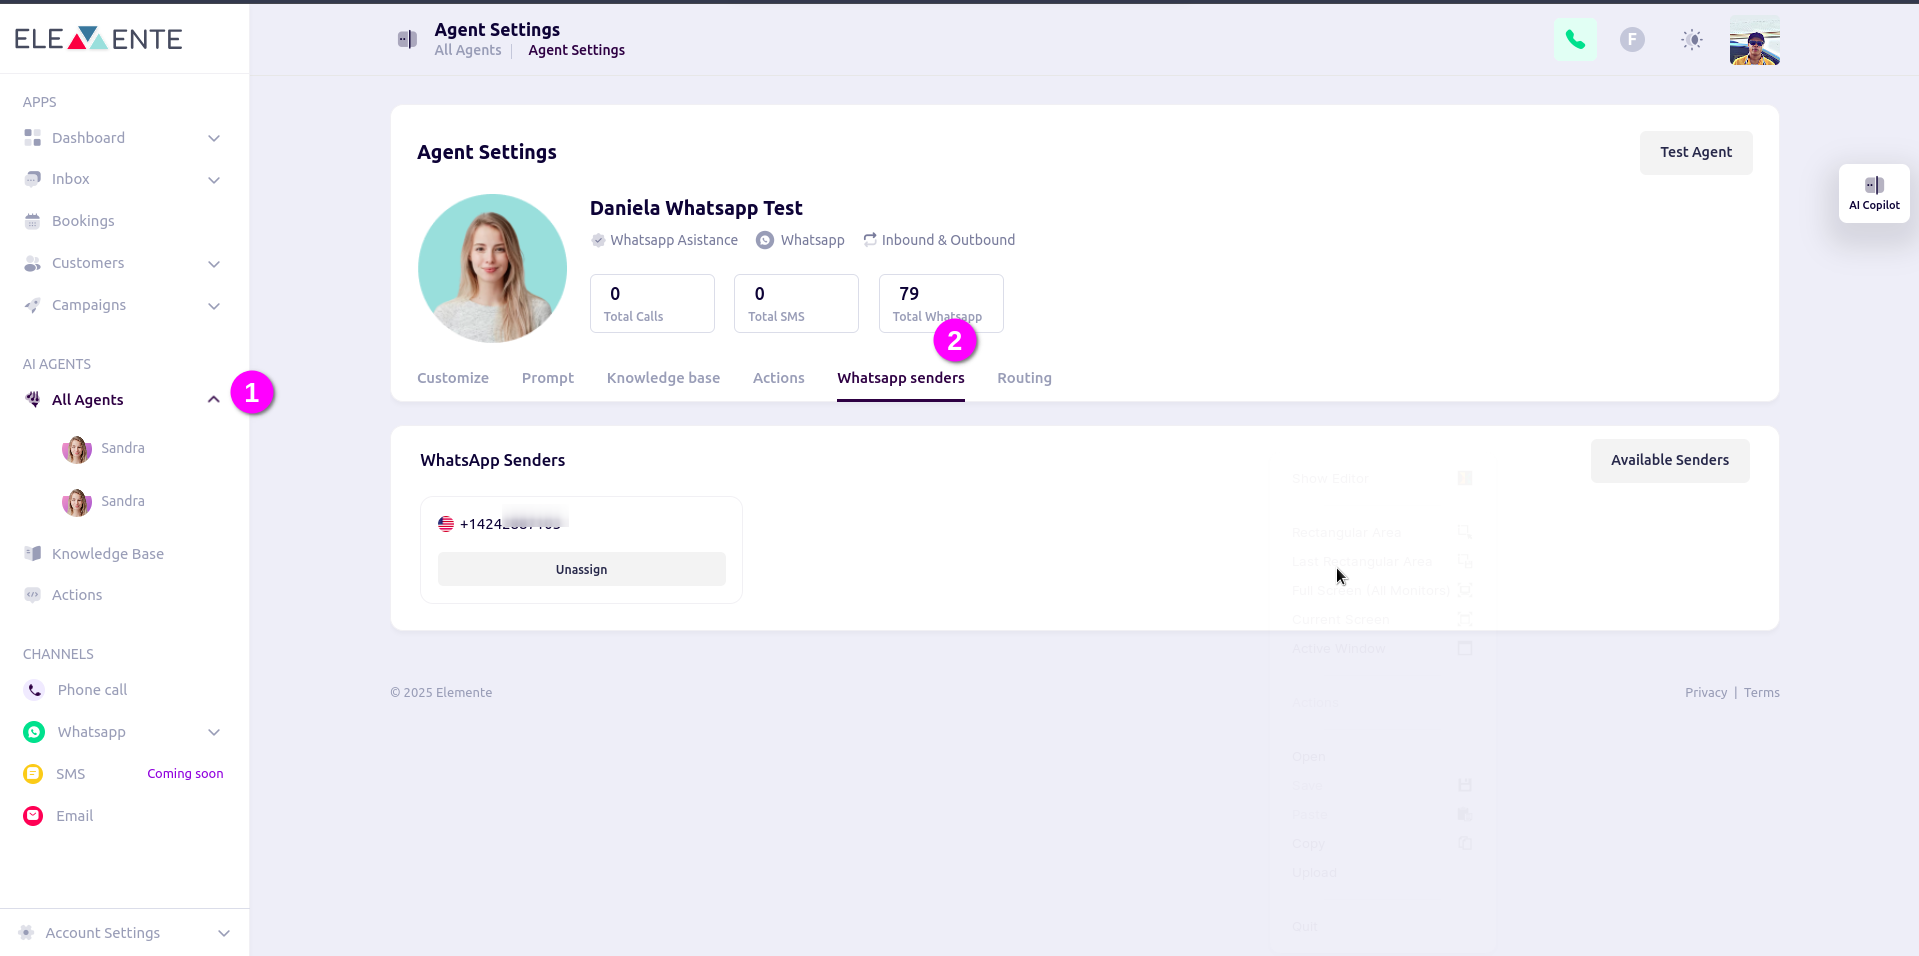
Testing WhatsApp Agents
Test your WhatsApp agent to verify the setup.