Overview
Lead qualification allows admins to use AI assistants to interact with potential customers by asking predefined questions based on triggers. The AI assistant collects data, assesses lead quality, and organizes leads for further action. By setting up lead qualification, admins can focus on high-potential leads while reducing repetitive tasks.Benefits of Lead Qualification
- Efficient Lead Segmentation: Automatically qualify leads based on tailored criteria, such as industry or company size.
- Improved Customer Experience: AI assistants remember previous interactions to avoid redundant questions.
- Streamlined Campaigns: Use qualified leads to target specific audiences for outbound campaigns.
- Data Management: Centralized access to customer responses and lead qualification details.
Steps to Set Up Lead Qualification
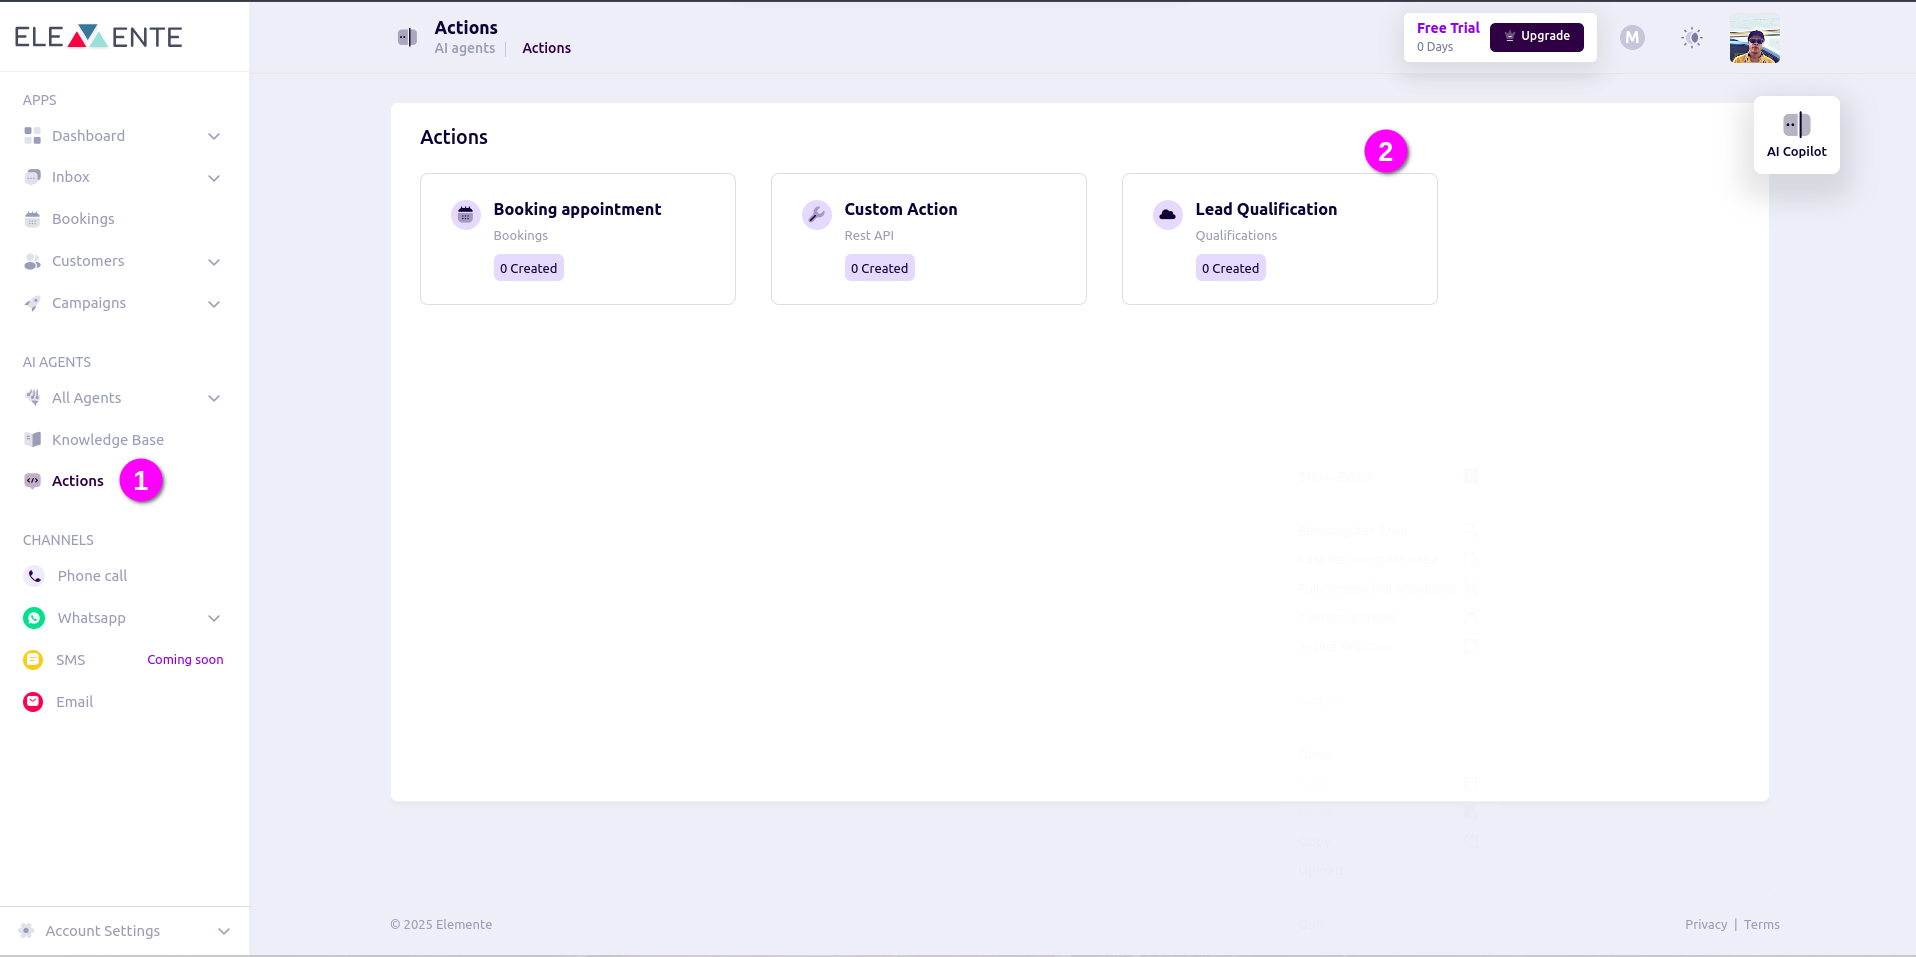
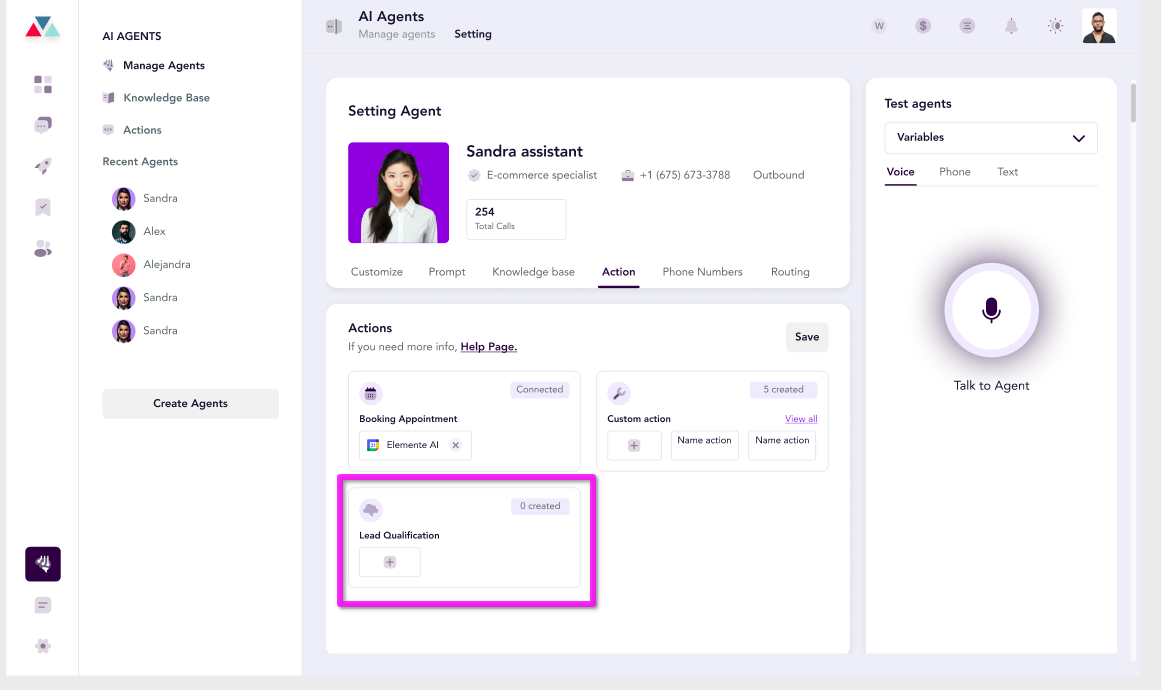
1. Access the Actions Tab
Lead Qualification Setup
- On the left sidebar, click on Actions.
- Select the Lead Qualification card to open the configuration options.
Important Notes:
- Lead Qualification integrates with CRMs like HubSpot.
- If HubSpot is enabled but not connected, a warning modal will pop up, prompting you to connect your HubSpot account.
- You can choose to skip the connection at that moment.
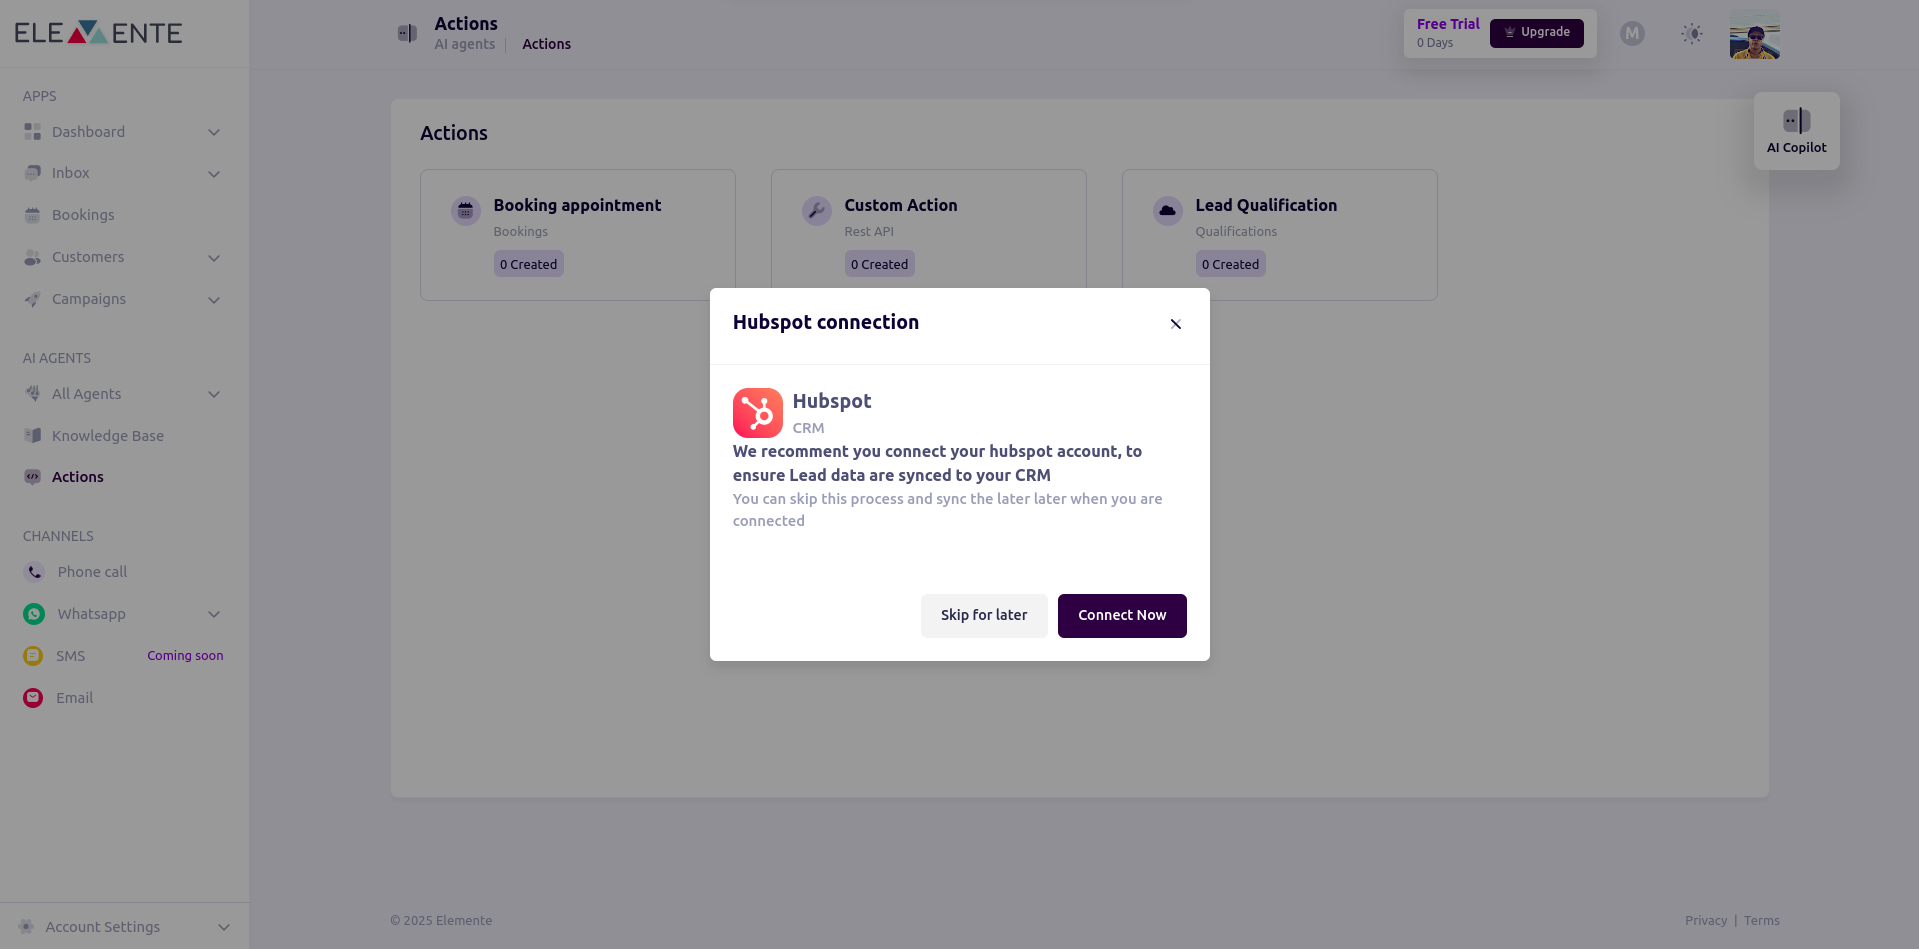
How to Connect HubSpot:
- Navigate to Account Settings > Integration > HubSpot and click on Connect to link your HubSpot account.
- Alternatively, you can connect directly from the warning modal that appears in Actions > Lead Qualification.
2. Create a New Lead Qualification
1. Initiate Lead Qualification
- Click on Create Lead Qualification if no qualification exists.
2. Choose a Creation Method
Lead qualification can be created in two ways:
- Using a Predefined Template: Automatically creates a lead qualification (LQ) with predefined questions.
- Manual Creation: Follow these steps to configure the qualification.
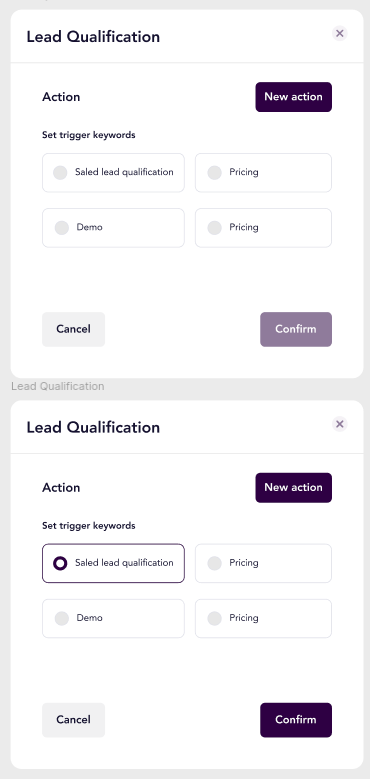
3. Configure the Action
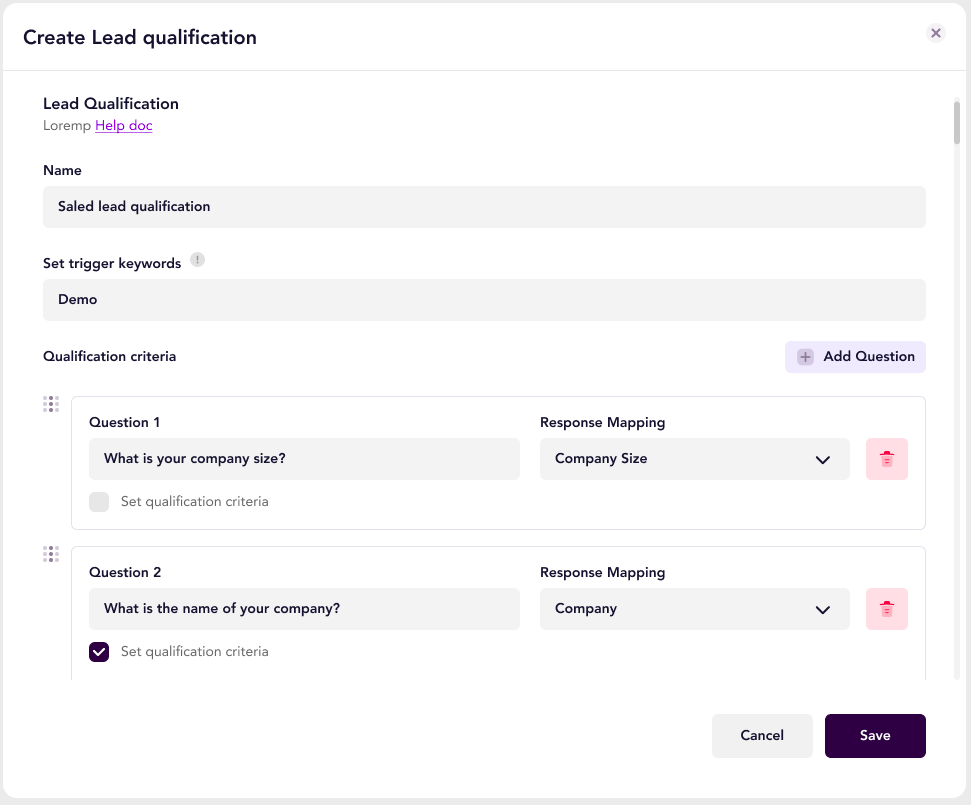
Fill in the form fields:- Name: Input the lead qualification name (e.g., “Enterprise Leads”).
- Trigger Keywords: Enter relevant keywords (e.g., “pricing”, “demo”). The AI assistant will use these to initiate the qualification process.
4. Define Qualification Criteria
- Add a question by filling in the input field (e.g., “What is your company size?”).
- Response Mapping: Use the dropdown to map responses to predefined data fields (e.g., “Company Size”).
- Check Set Qualification Criteria if the question contributes to lead status determination.
- Click Add Question to include additional questions.
5. Example Questions
- Question 1: “What is your company size?”
- Response Mapping: Company Size
- Set Qualification Criteria: ✅
- Question 2: “What is the name of your company?”
- Response Mapping: Company
- Set Qualification Criteria: ❌
6. Finalizing Lead Qualification
- Click Save to finalize the setup.
- Click Cancel to discard changes.
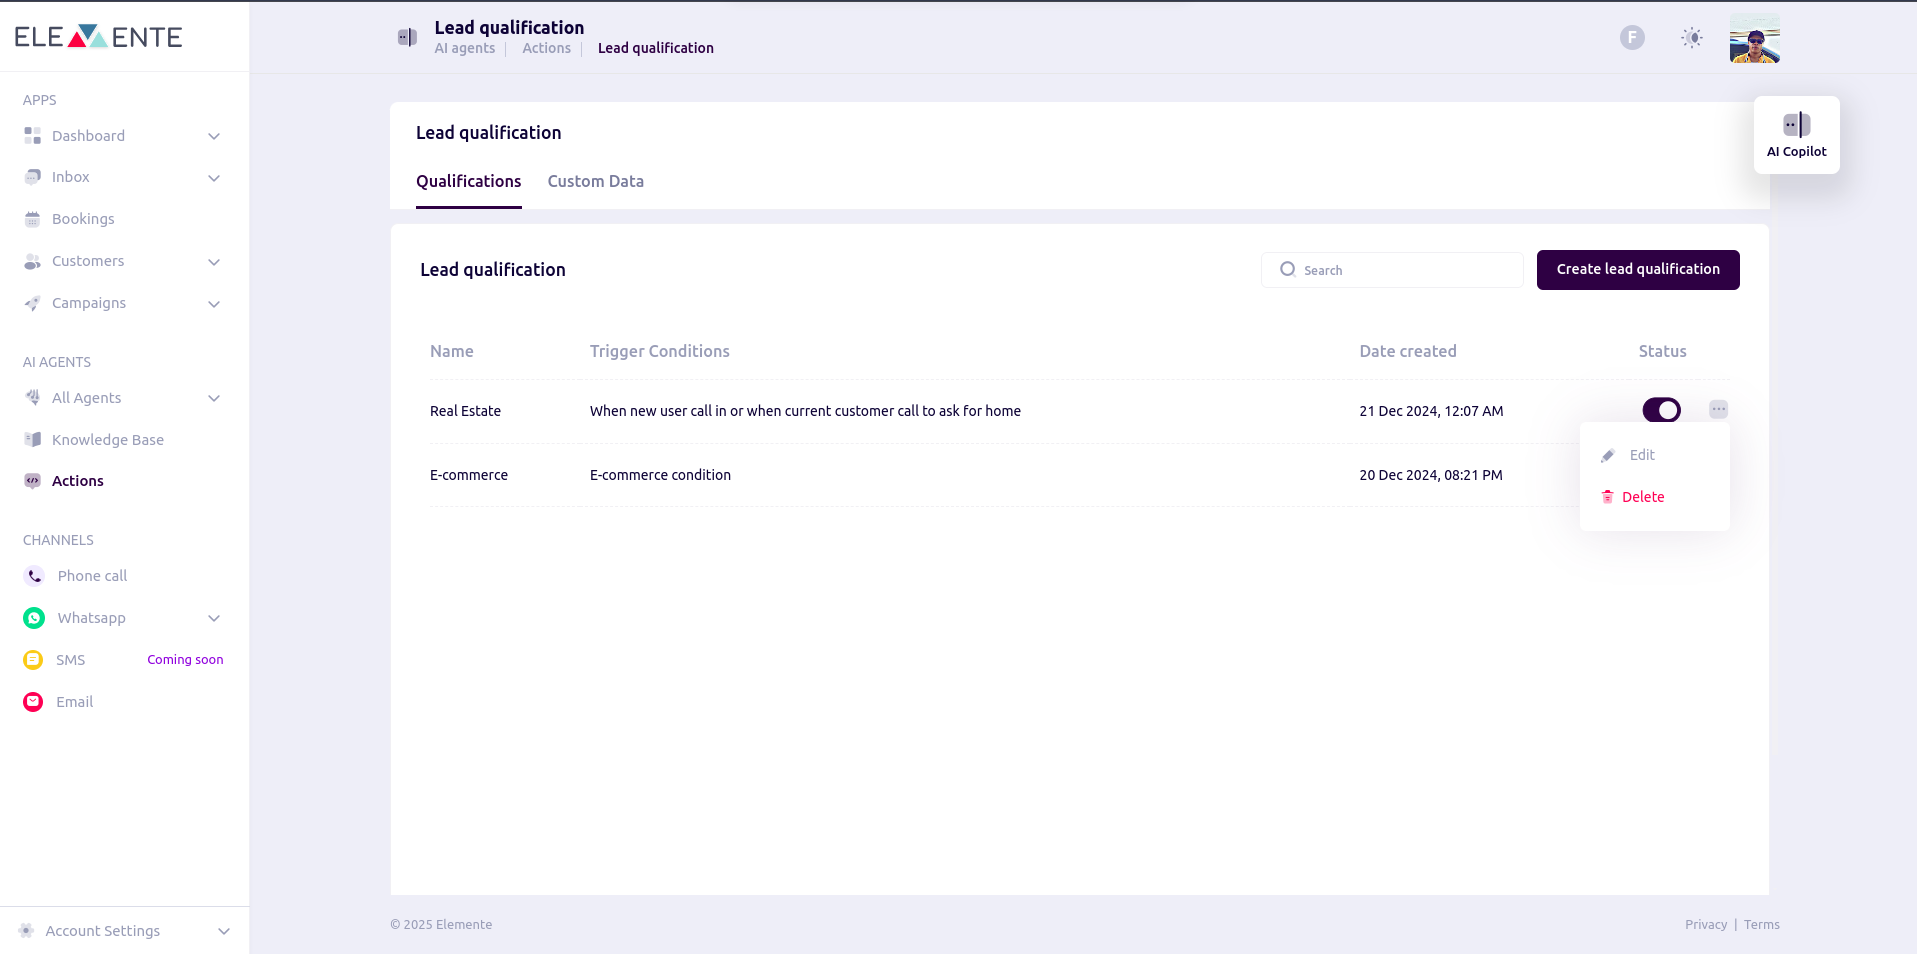
3. View and Manage Lead Qualifications
The Lead Qualification table displays all created qualifications. From here, you can:- Activate or Deactivate: Toggle qualifications as active or inactive.
- Assign to Agents: Assign qualifications to agents for use during customer interactions.
- Edit Lead Qualifications: Update the name, questions, or triggers.
- Delete Lead Qualifications: Permanently remove a qualification action.
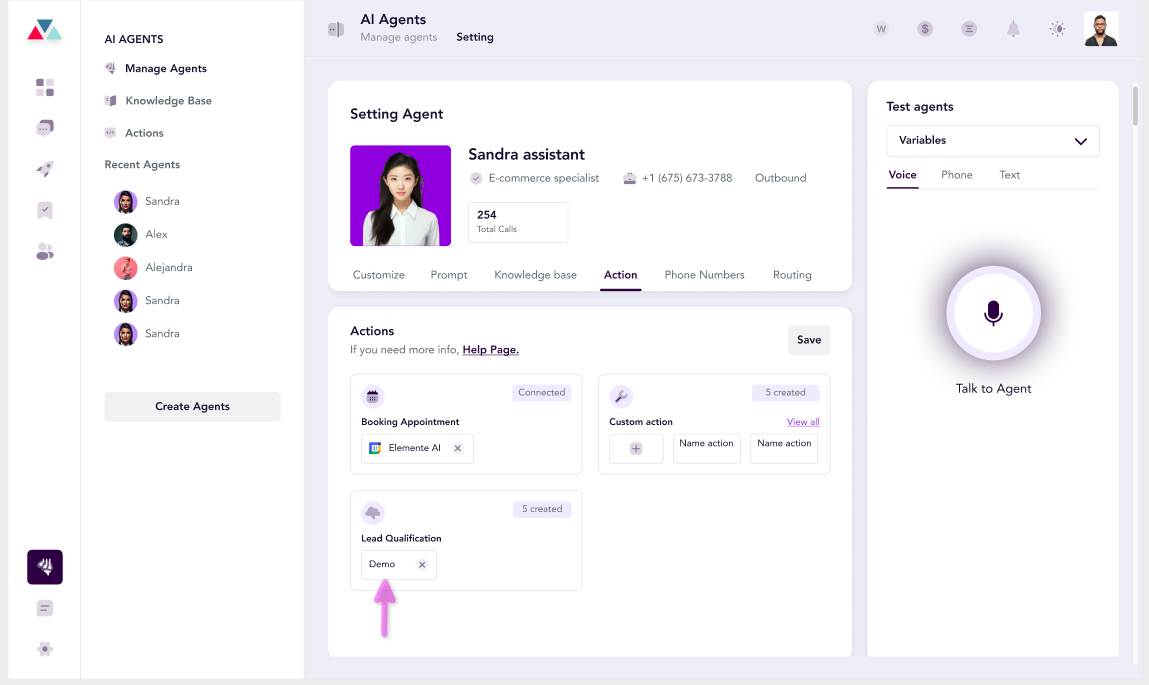
4: Adding Lead Qualification Questions on Agent Settings
The Lead Qualification feature enables your AI agent to collect and organize key customer details to evaluate their potential as leads.- Go to the Actions tab under Agent Settings.
- Locate the Lead Qualification card and click the + icon to start.
- Select from pre-defined lead questions available on the Lead Qualification Action page.
- Save the configuration to activate the lead qualification process for the selected agent.
- Once configured, the agent will automatically use the workflow to gather structured data from customers.
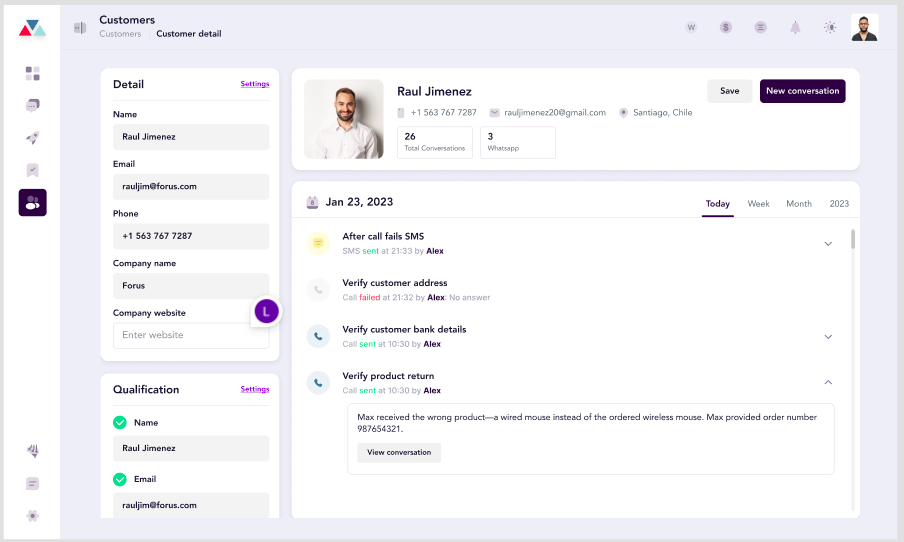
5. Set Up Lead Qualification Data
- Navigate to Settings > Customers > Lead Qualification Settings.
- View and edit existing data fields (e.g., Name, Email, Company Size).
- Add new data fields by selecting the data type and defining the parameters.
6. Use Qualified Leads for Campaigns
- Once leads are segmented, navigate to Campaign Manager.
- Select the segment of qualified leads (e.g., leads tagged under “Enterprise Leads”).
- Create a campaign targeting these leads with personalized messages or offers.